How to Safely Work with Lead Paint Removal
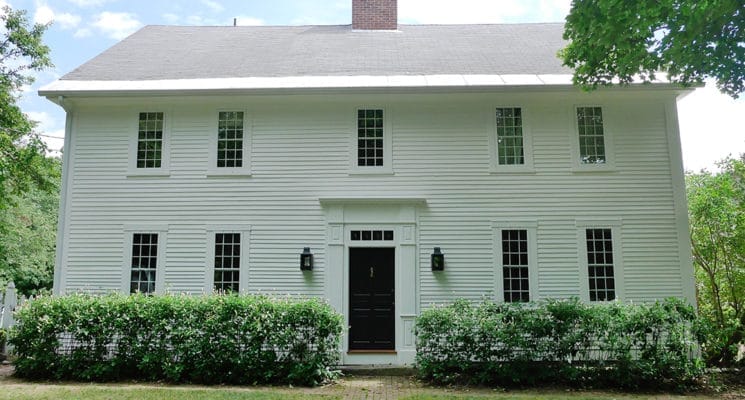
Lead Paint Removal and Repaint of Historic Home.
Removing lead paint from a Historical house has its challenges. In addition, a house loaded with old lead paint on its siding, trim, window sashes, and doors only complicates the matter. As a result, proper removal and practices are very important, due to the toxic nature of lead paint. H.D.F. Painting is trained and certified in lead paint removal and renovation. In this blog, we will use the case study of a lead paint removal project.
1. Prep
On this particular job, the window sashes were removed to be stripped of lead paint at our shop. After that, install plastic sheets on the interior of all windows and doors, to catch any paint chips. For the exterior work, place reinforced plastic sheets around the perimeter and attached it to the last clapboard with pieces of strapping.
2. Repair Nail Pops.
Our first task is to set all the nail heads with a nail set or hammer. With old homes, especially historic homes, nails holding the clapboards together can get lost. This is due to the constant weather damage throughout the years. The nail set prevents the Paint Shaver from catching the metal nailhead consequently causing damage to the clapboards.
3. Safely Remove Lead Paint.
Equipped with respirators, goggles and a disposable protective lead abatement clothing, the next step involves removing all the lead paint from the siding down to bare wood. We accomplished this by using a Paint Shaver attached to a HEPA vacuum ((High-Efficiency Particulate Arresting).
We recommend the Festool CT 26 Vacuum. Don’t forget to remove the paint on the edges of the clapboards also. Once this is accomplished, go over the entire surface with Festool RO 125 Sanders with 80 to 100 Grit Garnet Sanding pads. This creates a nice smooth surface for the new paint coatings.

4. Priming.
Fill any imperfections in the clapboards by filling holes with a two-part epoxy called Abatron. Allow it to dry overnight. After that, sand it down with the Festool sander. Then, apply one full coat of C2 100% acrylic C3000 primer. Primers on bare wood tend to raise the grain in the wood. Therefore, after it dries, lightly sand the surfaces with 120 grit sandpaper. The same process is applied to the trim.
5. Caulking Cracks.
The next step is to caulk all the cracks between the siding and the trim. On this particular job we also caulked the gap under the clapboards. We used White Lightning Bolt caulking on the majority of our work. In certain situations when the gap is wider than ½ inch, we recommend using the West System SIX10 Epoxy.
6. Second Primer and Final Coat.
First, apply the 2nd coat of primer. Finally, for the top final coat, we apply three coats C2 Eggshell Finish 100% acrylic. On this particular job, we use eggshell on all the surfaces.

7. Doors and Windows.
All the exterior doors were removed from the site, prepped, and sprayed at our shop. The doors were sprayed with Fine Paints of Europe Eco Satin with a custom green color. The windows sashes were stripped of lead paint, sanded, and repainted also. Finally, all work areas are vacuumed and inspected to leave them as pristine as possible.
Lead Paint Removal Resource
Contact us for lead paint removal.
At H.D.F. Panting we are certified to conduct lead-based paint renovation, repair, and painting activities. Fill out the form below for a free estimate.

Certification Num.
NAT-F163601-2
Get in touch

