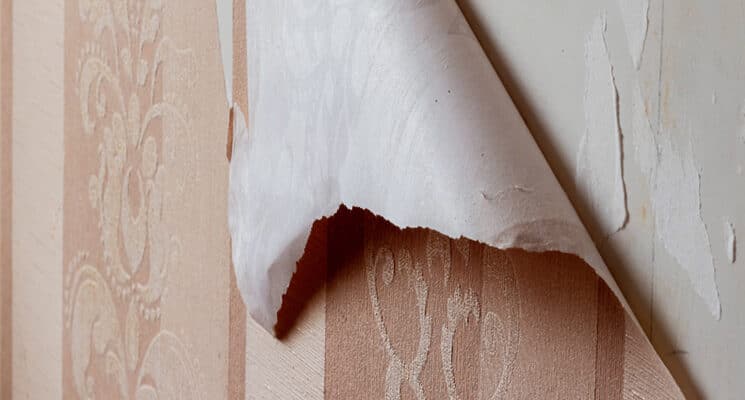
Removing Wallpaper From Drywall: An Easy Guide to Stripping Wallpaper
Removing outdated wallpaper can be a daunting task. But with the right tools and techniques, you can remove wallpaper like a pro. This blog post will show you how to remove wallpaper like a pro, from gathering the necessary tools to fixing any potential issues that may arise.
Gathering your Tools and Products
Wallpaper removal can be quite a messy process, so gathering the right tools and materials is key to a successful project.
Tools
WallPaper Removal Product
Workspace Setup
Before we start the removal process, we have to set up your workspace. First, place a drop clothes on the floor, tight to the wall. Then, tape plastic sheeting along the baseboard/trim over the drop clothes. Finally, apply a tape covering on any electrical outlets on your walls.
Wallpaper Removal Solutions
Next, we will set up our wallpaper removal solutions. We recommend mixing one part remover (you can pick between using vinegar, Zinsser DIF or Savogran FAST) with three parts hot water.
Our favorite choice of remover is Savogran Fast, as it is a low-odor formula that softens wallpaper paste to aid in the removal of old wallpaper.
Wallpaper Removal Tips
Now it’s time to start removing the wallpaper.
1. Assess the Wallpaper: Start by inspecting the wallpaper. Remove any loose corners or edges using a 5-in-1 tool.
2. Score the Wallpaper: If the wallpaper doesn’t come off easily, use a paper tiger to score it. This tool punctures small holes in the wallpaper, allowing the removal solution to penetrate and soften the adhesive underneath.
3. Prepare the Area: Put on gloves and eye protection before proceeding. Ensure proper ventilation in the room.
4. Apply Wallpaper Removal Solution: Spray the removal solution onto the scored area, working in sections (e.g., 4’x9′). Start from the top left corner and work your way down and across the wall. Ensure the area is thoroughly saturated but avoid excessive solution that may cause a mess.
5. Allow Solution to Set: Let the solution sit for 3-5 minutes to penetrate the wallpaper and loosen the adhesive.
6. Apply Second Application: Spray a second coat of the removal solution onto the same area. Keep the wall wet to facilitate easier removal.
7. Start Scraping & Remove wallpaper: Use a wallpaper scraper to gently peel away the softened wallpaper. Begin in areas where bubbling or loosening is evident. If the wallpaper dries out or becomes difficult to remove, reapply the solution.
8. Deal with Residue: After removing the wallpaper, you may have glue residue left on the walls. Use a sponge and hot water to wipe away any remaining adhesive or paste. Be thorough in cleaning the surfaces.
9. Optional: Remove Liner: Some wallpapers may have an additional liner that also needs removal. Follow the same steps to treat and remove the liner.
10. Finish and Prepare for Painting: Once the walls are clean and smooth, they are ready for further treatment, such as priming or painting.
By following these steps, you can effectively remove wallpaper from your walls, leaving them primed for a fresh new look.
Common Problems after Wallpaper Removal
Now that you have removed your outdated wallpaper, you may find yourself facing some issues like drywall damage or stained walls.
To fix the drywall damage, start by patching the damaged area with a drywall compound and sanding it flat. For stained walls, clean the walls with a mixture of warm water and TSP (tri-sodium phosphate) or a heavy-duty wallpaper remover.
If the stains persist, you may need to prime and paint the walls to cover them up.
Looking for a hassle-free experience? Don’t worry, H.D.F. Painting provides Wallpaper Removal Service. Fill out the form below!
Get in touch

